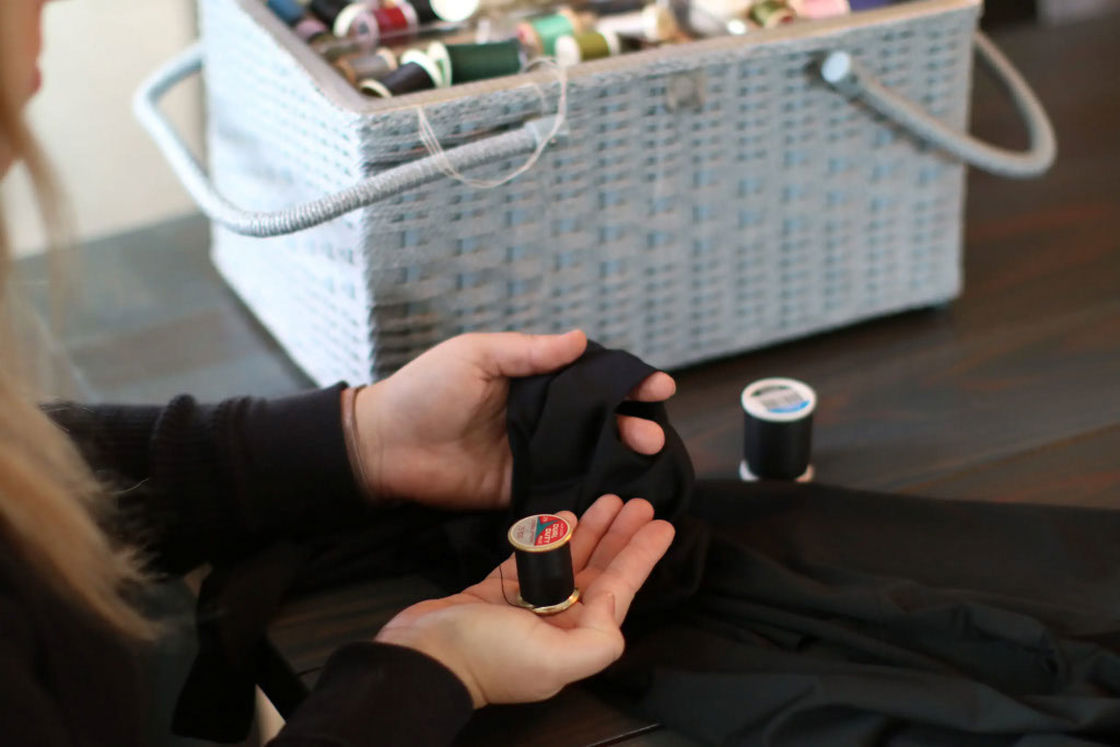
Ripped leggings are starting to rule the fashion world with its foxy, casual look that can match and accentuate different skin tones and body sizes. However, brands are selling these amazing pieces for hundreds of dollars. Not very budget-friendly, right?
Do you want to expand your wardrobe by adding ripped leggings to your daily trendy outfits? Why spend a hundred bucks if you can do it yourself! Turn your dull leggings into trendy ripped ones. All you need are simple household items and these few easy-peasy steps.
Contents
DIY Ripped Leggings
Making ripped leggings is really easy especially when you have the complete list of items that you are going to use. Luckily, you don’t need to go out of your way to the store to find these things as most of them are basic household items you use everyday. Here are the list of things you need to make a perfect ripped leggings:

- Pair of fabric or regular scissors
- Pen or marker
- Nail file
- Cardboard or old magazine
- Pair of tweezers
While creativity and improvisation can help, it can sometimes alter the look that you want to do especially if you want to replicate a basic design you saw on the internet.
So having the exact items to use will definitely make the perfect ripped leggings design of your own and wear it comfortably like wearing a capri leggings to prevent excessive heat.
How to Make Ripped Leggings
After securing the household items you need to use, it is the time for your creativity and craftiness to shine! Just make sure to keep your hands safe from injuries since you will be using sharp scissors for this one. Here’s are the 3 easy steps to make a fashionable ripped leggings:
| Steps | What to do |
|---|---|
| Step 1 | Wear-down the leggings fabric |
| Step 2 | Make cuts and rips |
| Step 3 | Wash the ripped leggings gently |
Step 1. Wear Down the Legging’s Fabric
Believe it or not, you have to prep the legging fabric before you can create rips.
Before cutting, wear them to identify the best spots for rips. This not only helps to get a natural finish but also makes the cutting process smoother since worn fabric is easier to cut.
Here’s a step-by-step guide:
- Fit and Mark: Put on your leggings and decide where you’d like the rips. Using a pen or marker, carefully mark these areas. Remove the leggings once you’ve marked all desired spots.
- Prep for Wearing Down: Place a piece of cardboard or an old magazine inside each leg, positioned under the areas you’ve marked. This protects the backside of the leggings and gives you a firm surface to work on.
- Wear Down the Fabric: With a nail file, gently rub on the marked spots until the fabric looks thin and fluffy. The cardboard or magazine inside helps in ensuring you don’t wear down too much, and it provides a stable surface.
Your leggings are now prepped for cutting.

Step 2: Make Cuts and Rips
Ok, here is the step where we we make your DIY ripped leggings.
- Cutting: With your marks as a roadmap, snip carefully. Lay the fabric flat. This ensures neat cuts without unwanted nicks. And remember, no big snips! We don’t want to hit those seams.
- Distressing: Tweezers in hand, pluck a bit of fabric from your cuts. This adds that authentic ripped charm. But, darling, less is more. Over time, washing will naturally distress them further.
- Finishing: Toss out that cardboard or magazine. A quick once-over, and voilà! You’ve got runway-ready ripped leggings.
Step 3: Gentle Wash Your Ripped Leggings
After all the wearing, cutting, ripping, and distressing, surely your new ripped leggings will end up with loose threads, fluffs, wools, and fabric. Wash your ripped leggings on a gentle cycle to shake off the extras and amp up that ripped vibe.
Once done, let them air dry to keep them in tip-top shape. And then? Slip them on, strut your stuff, and let those revamped leggings do the talking.
Tips and Reminders
After following all the steps, you can now enjoy beautiful ripped leggings. But make sure to remember these reminders and tips during the do-it-yourself process:

- Avoid cutting your leggings vertically. Vertical cuts are more prone to damages and it will end up splitting over time.
- Skip the wearing down process if your leggings are already worn down. Old leggings are highly applicable clothing pieces to alter into ripped ones since its fabric is already rugged to begin with. It will also add to the naturally ripped effect that you might want to achieve.
- Avoid having too many cuts and rips. While it can be quite fashionable to have more cuts and rips in your ripped leggings, doing this will diminish the structure and integrity of the clothing and the fabric. With that, it will be almost impossible to maintain.
- Avoid distressing close or within the seams of the leggings to avoid splitting and ruining the fabric.
- Leggings without seams are almost impossible to alter into ripped leggings. If you want to alter seamless leggings, do not expect them to last for a long time as the seams are the one responsible for holding the legging’s fabric together in a ripped leggings.
An additional tip for maintenance, ripped leggings will be more fragile and prone to damages because of all the cutting and wearing down. Always air dry them because washing and drying will ruin and trample the fabric of the leggings. It will also help your new ripped leggings to last for months and years of use.
Frequently Asked Questions
Can I Make Ripped Leggings Using Seamless Styles?
Yes, you can make ripped leggings using seamless styles. Usually, the seamless design doesn’t necessarily mean the leggings don’t have a seam.
Rather, it means the leggings have minimal seams compared to the traditional styles. These seams can help to hold the fabric after ripping the leggings.
Are Ripped Leggings Durable?
Generally, ripped leggings are not durable as ripping is a form of damage to the fabric, which introduces a weakness.
In most cases, leggings will continue ripping by themselves, making the hole larger over time. This is more common if the leggings have minimal seams or the ripping is close to the seams.
Can I Fix Ripped Leggings?
Yes, you can fix ripped leggings. However, the hole you might make when making ripped leggings tends to be large and usually located around the knee or thigh area.
Unlike when fixing small holes, patching large holes in such critical locations can make the leggings look bad. Also, the fabric tends to stretch around these areas, and the repair might not last.
Conclusion
Ripped leggings can be achieved using simple common household items and three easy instructions. Wear down the leggings fabric, cut the fabric based on your chosen design, and gentle wash using a washing machine. Just make sure to avoid cutting it vertically or ripping it too much as it will ruin the legging’s fabric.
It’s that easy. Right color to fit and fabric choices will get you the best fit for your body and you can wear them in any occasion or you can even use it to go work. Flaunt your style with your new DIY ripped leggings!
